


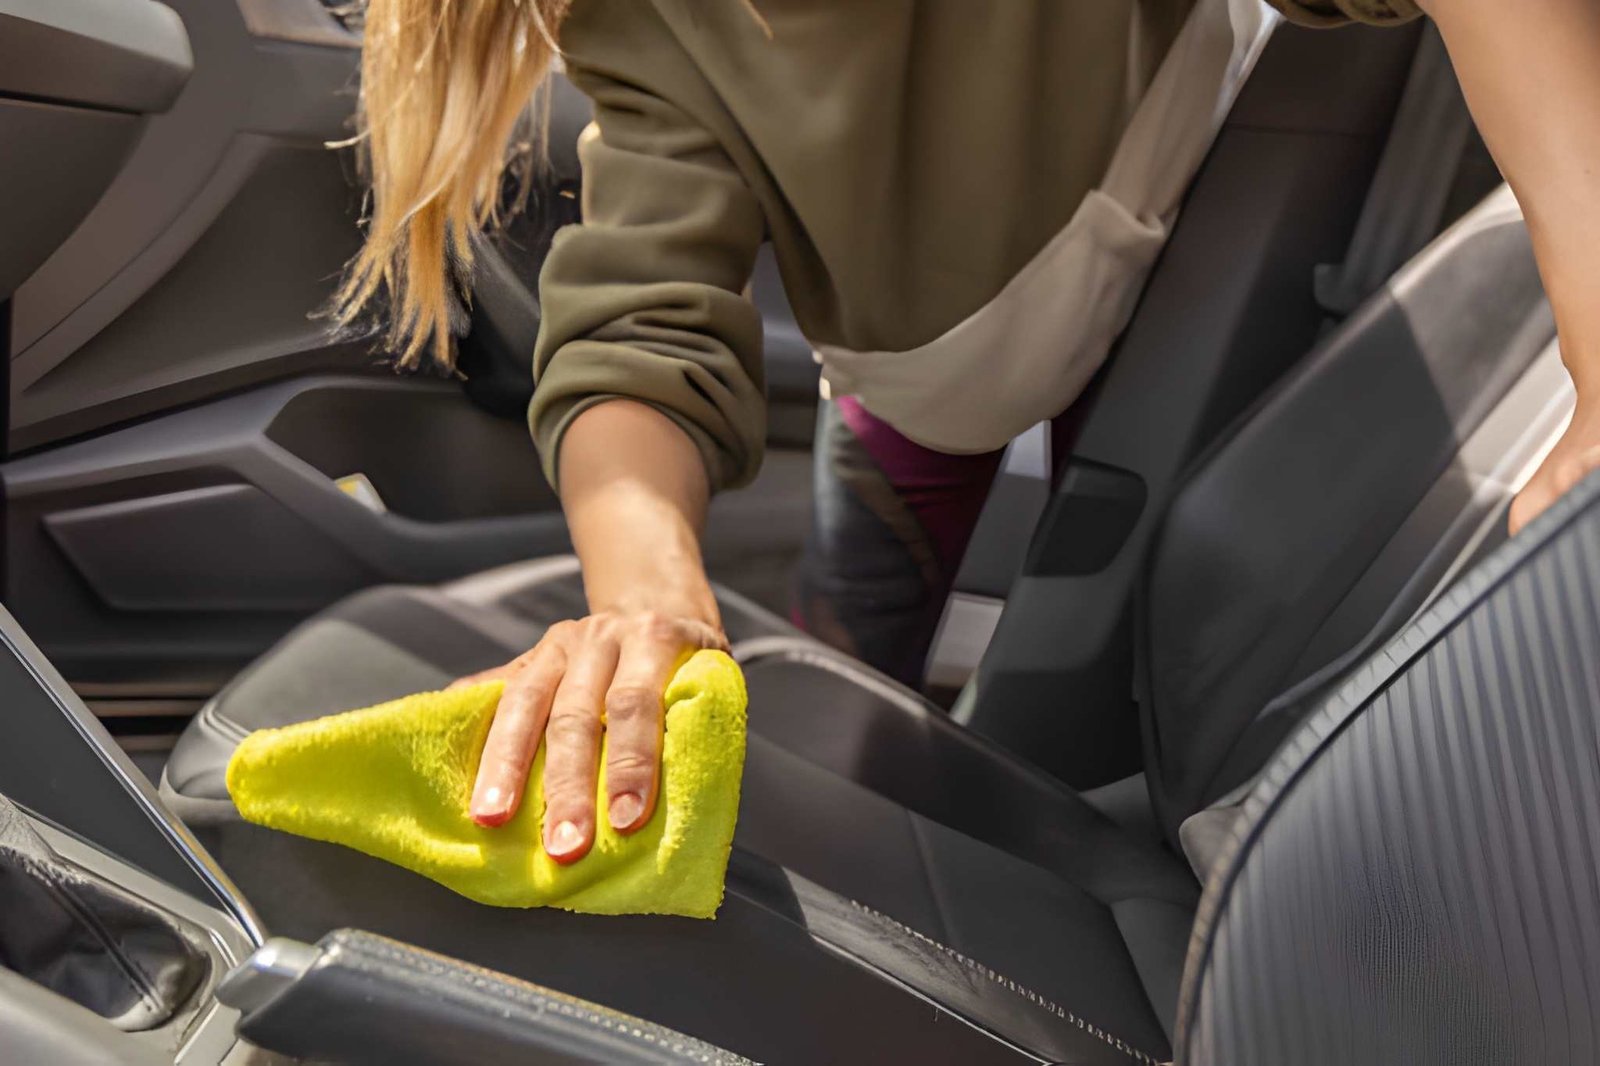
Spill a coffee, drop a fry, or drive around with muddy boots a few times, and your car seats start telling the story of your whole week. Most drivers only think about how to clean car seats after a mess has already happened, but a little regular care goes a long way toward keeping your interior looking (and smelling) like new. The Environmental Protection Agency notes that indoor air quality inside vehicles can be affected by dust, mold, and trapped particles, which is one more reason seat hygiene matters beyond appearances. Whether you’re dealing with cloth, leather, or vinyl seats, the cleaning method you choose can make the difference between a seat that looks refreshed and one that ends up stained, faded, or cracked. This guide walks through exactly what to use, what to avoid, and how often to clean, so you can care for your car seats with confidence.
Why Cleaning Your Car Seats Matters
Car seats take a beating. They absorb spills, soak up sweat, trap dust, and hold onto odors from food, pets, and everyday use. Beyond looks, dirty seats can:
- Shorten the lifespan of the material, especially leather, which cracks faster when dirt and oils build up
- Lower your car’s resale value, since buyers judge interior condition closely
- Trap allergens like dust mites and pollen, which can bother passengers with allergies
- Hold odors that get worse over time instead of fading on their own
Regular cleaning protects your investment and keeps the ride comfortable for everyone who gets in.
Step 1: Identify Your Seat Material Before You Clean
The single biggest mistake people make is using the same cleaner on every seat type. Fabric, leather, vinyl, and suede all react differently to soap, water, and heat. Check your owner’s manual or look at the seat tag if there is one, then match your approach to the table below.
| Seat Material | Safe Cleaners | Avoid |
|---|---|---|
| Cloth / Fabric | Mild soap + water, fabric-safe upholstery cleaner, white vinegar solution | Bleach, harsh solvents, soaking the fabric |
| Leather | pH-balanced leather cleaner, leather conditioner | Ammonia-based cleaners, baby wipes, direct heat |
| Synthetic Leather (Vinyl) | Mild soap + water, vinyl-safe cleaner | Alcohol-based cleaners, abrasive brushes |
| Suede / Alcantara | Suede-specific cleaner, soft brush | Water-soaked cloths, regular fabric cleaner |
Step 2: Gather the Right Supplies
You don’t need a garage full of products. A short list of basics covers almost every job:
| Supply | Used For | Approx. Cost |
|---|---|---|
| Vacuum with brush attachment | Removing loose dirt, crumbs, and dust | $0 (if owned) |
| Microfiber towels | Wiping and buffing seats | $8–$12 for a pack |
| Upholstery or leather cleaner | Deep cleaning fabric or leather | $8–$20 |
| Soft-bristle brush | Loosening stains before wiping | $5–$10 |
| Leather conditioner | Protecting and softening leather | $10–$18 |
| White vinegar | DIY fabric cleaning solution | $3–$5 |
| Baking soda | Odor absorption | $2–$4 |
Tip: Always test any cleaner on a small, hidden part of the seat first and let it dry before using it on the whole surface. This helps you catch discoloration or damage before it spreads.
Step 3: Clean Fabric (Cloth) Car Seats
Cloth seats are the most common and, luckily, the easiest to clean without special products.
Step-by-Step: Fabric Seats
- Vacuum thoroughly using a brush attachment to lift dirt from the seams and crevices
- Mix a mild soap solution (a few drops of dish soap in warm water) or use a fabric-safe upholstery cleaner
- Dip a microfiber cloth or soft brush into the solution and scrub in small circles, focusing on stains
- Wipe away the soap with a clean, damp cloth to prevent residue buildup
- Blot excess moisture with a dry towel, then let the seats air dry with the windows cracked open
- Vacuum again once dry to fluff the fabric back up
Warning: Avoid soaking cloth seats. Too much water can seep into the foam padding underneath and lead to mold or a musty smell that’s hard to remove later.
Step 4: Clean Leather Car Seats
Leather looks great when it’s cared for, but it’s also the material most likely to get damaged by the wrong products.
Step-by-Step: Leather Seats
- Vacuum first to remove loose grit that could scratch the leather during wiping
- Wipe the entire seat down with a microfiber cloth lightly dampened with water
- Apply a pH-balanced leather cleaner (not an all-purpose or ammonia-based product) with a soft cloth
- Work in small sections, wiping with the grain rather than in circles
- Buff dry with a clean towel
- Finish with a leather conditioner every one to two months to prevent cracking and fading
Avoid: Baby wipes, glass cleaner, and alcohol-based products. These strip the leather’s natural oils over time and speed up cracking.
Step 5: Clean Vinyl and Synthetic Leather Seats
Vinyl (sometimes called synthetic or faux leather) is more forgiving than real leather but still benefits from gentle care.
- Vacuum to remove debris
- Wipe with a mild soap and water solution using a microfiber cloth
- For stubborn marks, use a vinyl-safe cleaner and a soft-bristle brush
- Rinse residue with a barely damp cloth
- Dry with a towel to prevent water spots
Step 6: Clean Suede or Alcantara Seats
Suede and Alcantara are premium materials found in sportier trims, and they need the gentlest treatment of all.
- Use a soft brush to lift dust and loose dirt in one direction
- Apply a suede-specific cleaner sparingly; never soak the material
- Blot stains immediately instead of rubbing, which can push dirt deeper
- Let seats air dry completely before sitting on them again
How to Remove Common Car Seat Stains
Different stains respond to different treatments. Here’s what works for the messes drivers deal with most:
Coffee or Soda Stains
Blot (don’t rub) the spill immediately with a paper towel. Mix a small amount of dish soap with warm water, dab it onto the stain, then blot with a clean, damp cloth until the mark lifts.
Grease or Oil Stains
Sprinkle baking soda or cornstarch on the stain and let it sit for 15 to 20 minutes to absorb the oil, then vacuum it up before cleaning the area with mild soap and water.
Ink Stains
Dab (never rub) rubbing alcohol onto a cotton ball and gently blot the stain from the outside in, testing on a hidden spot first, especially on leather.
Blood Stains
Use cold water only. Warm or hot water can set a protein-based stain like blood permanently into the fabric.
Pet Hair and Dander
A rubber squeegee or damp rubber glove pulls embedded pet hair out of fabric seams more effectively than a standard vacuum brush.
How to Get Rid of Car Seat Odors
Smells often linger even after a seat looks clean because odor-causing particles settle deep in the fibers or foam.
- Sprinkle baking soda generously over fabric seats, let it sit for a few hours (or overnight), then vacuum it up
- Use an enzyme-based cleaner for pet or food odors, since enzymes actually break down the source instead of masking it
- Air out the car with the windows down for at least 30 minutes after cleaning
- Avoid air fresheners as a first fix, since they only cover up smells rather than removing them
How Often Should You Clean Car Seats?
A simple wipe-down and vacuum every two weeks keeps everyday dirt from building up. A deeper clean, including conditioner for leather or a full fabric shampoo, works well every one to three months depending on how often the car is used and whether you carry kids, pets, or food regularly.
Common Mistakes to Avoid When Cleaning Car Seats
- Using household all-purpose cleaners not designed for auto interiors
- Scrubbing stains hard instead of blotting, which pushes them deeper into the material
- Skipping the patch test and discovering discoloration too late
- Over-wetting fabric seats, which can lead to mold in the padding underneath
- Forgetting to condition leather, which speeds up cracking and fading
- Cleaning seats in direct sunlight, which can cause cleaners to dry too fast and leave streaks
DIY Cleaning vs. Professional Detailing
Most day-to-day maintenance is easy to handle yourself with basic supplies. Consider a professional detailer if seats have deep-set stains, mold, significant odor after multiple treatments, or if you’re preparing the car for resale and want a showroom-level finish. Professional steam cleaning and leather restoration can also help with older, more worn interiors that DIY methods can’t fully restore.
Conclusion
Clean car seats aren’t just about appearances. They protect the material, extend the life of your interior, and make every drive more pleasant. Start with the right cleaner for your seat type, work in small sections, avoid soaking the material, and stay consistent with light cleaning every couple of weeks. Once you build that habit, deep stains and lingering odors become far less common. If your seats need more than a routine clean right now, tackle one section at a time using the steps above, and your car will feel refreshed in an afternoon.